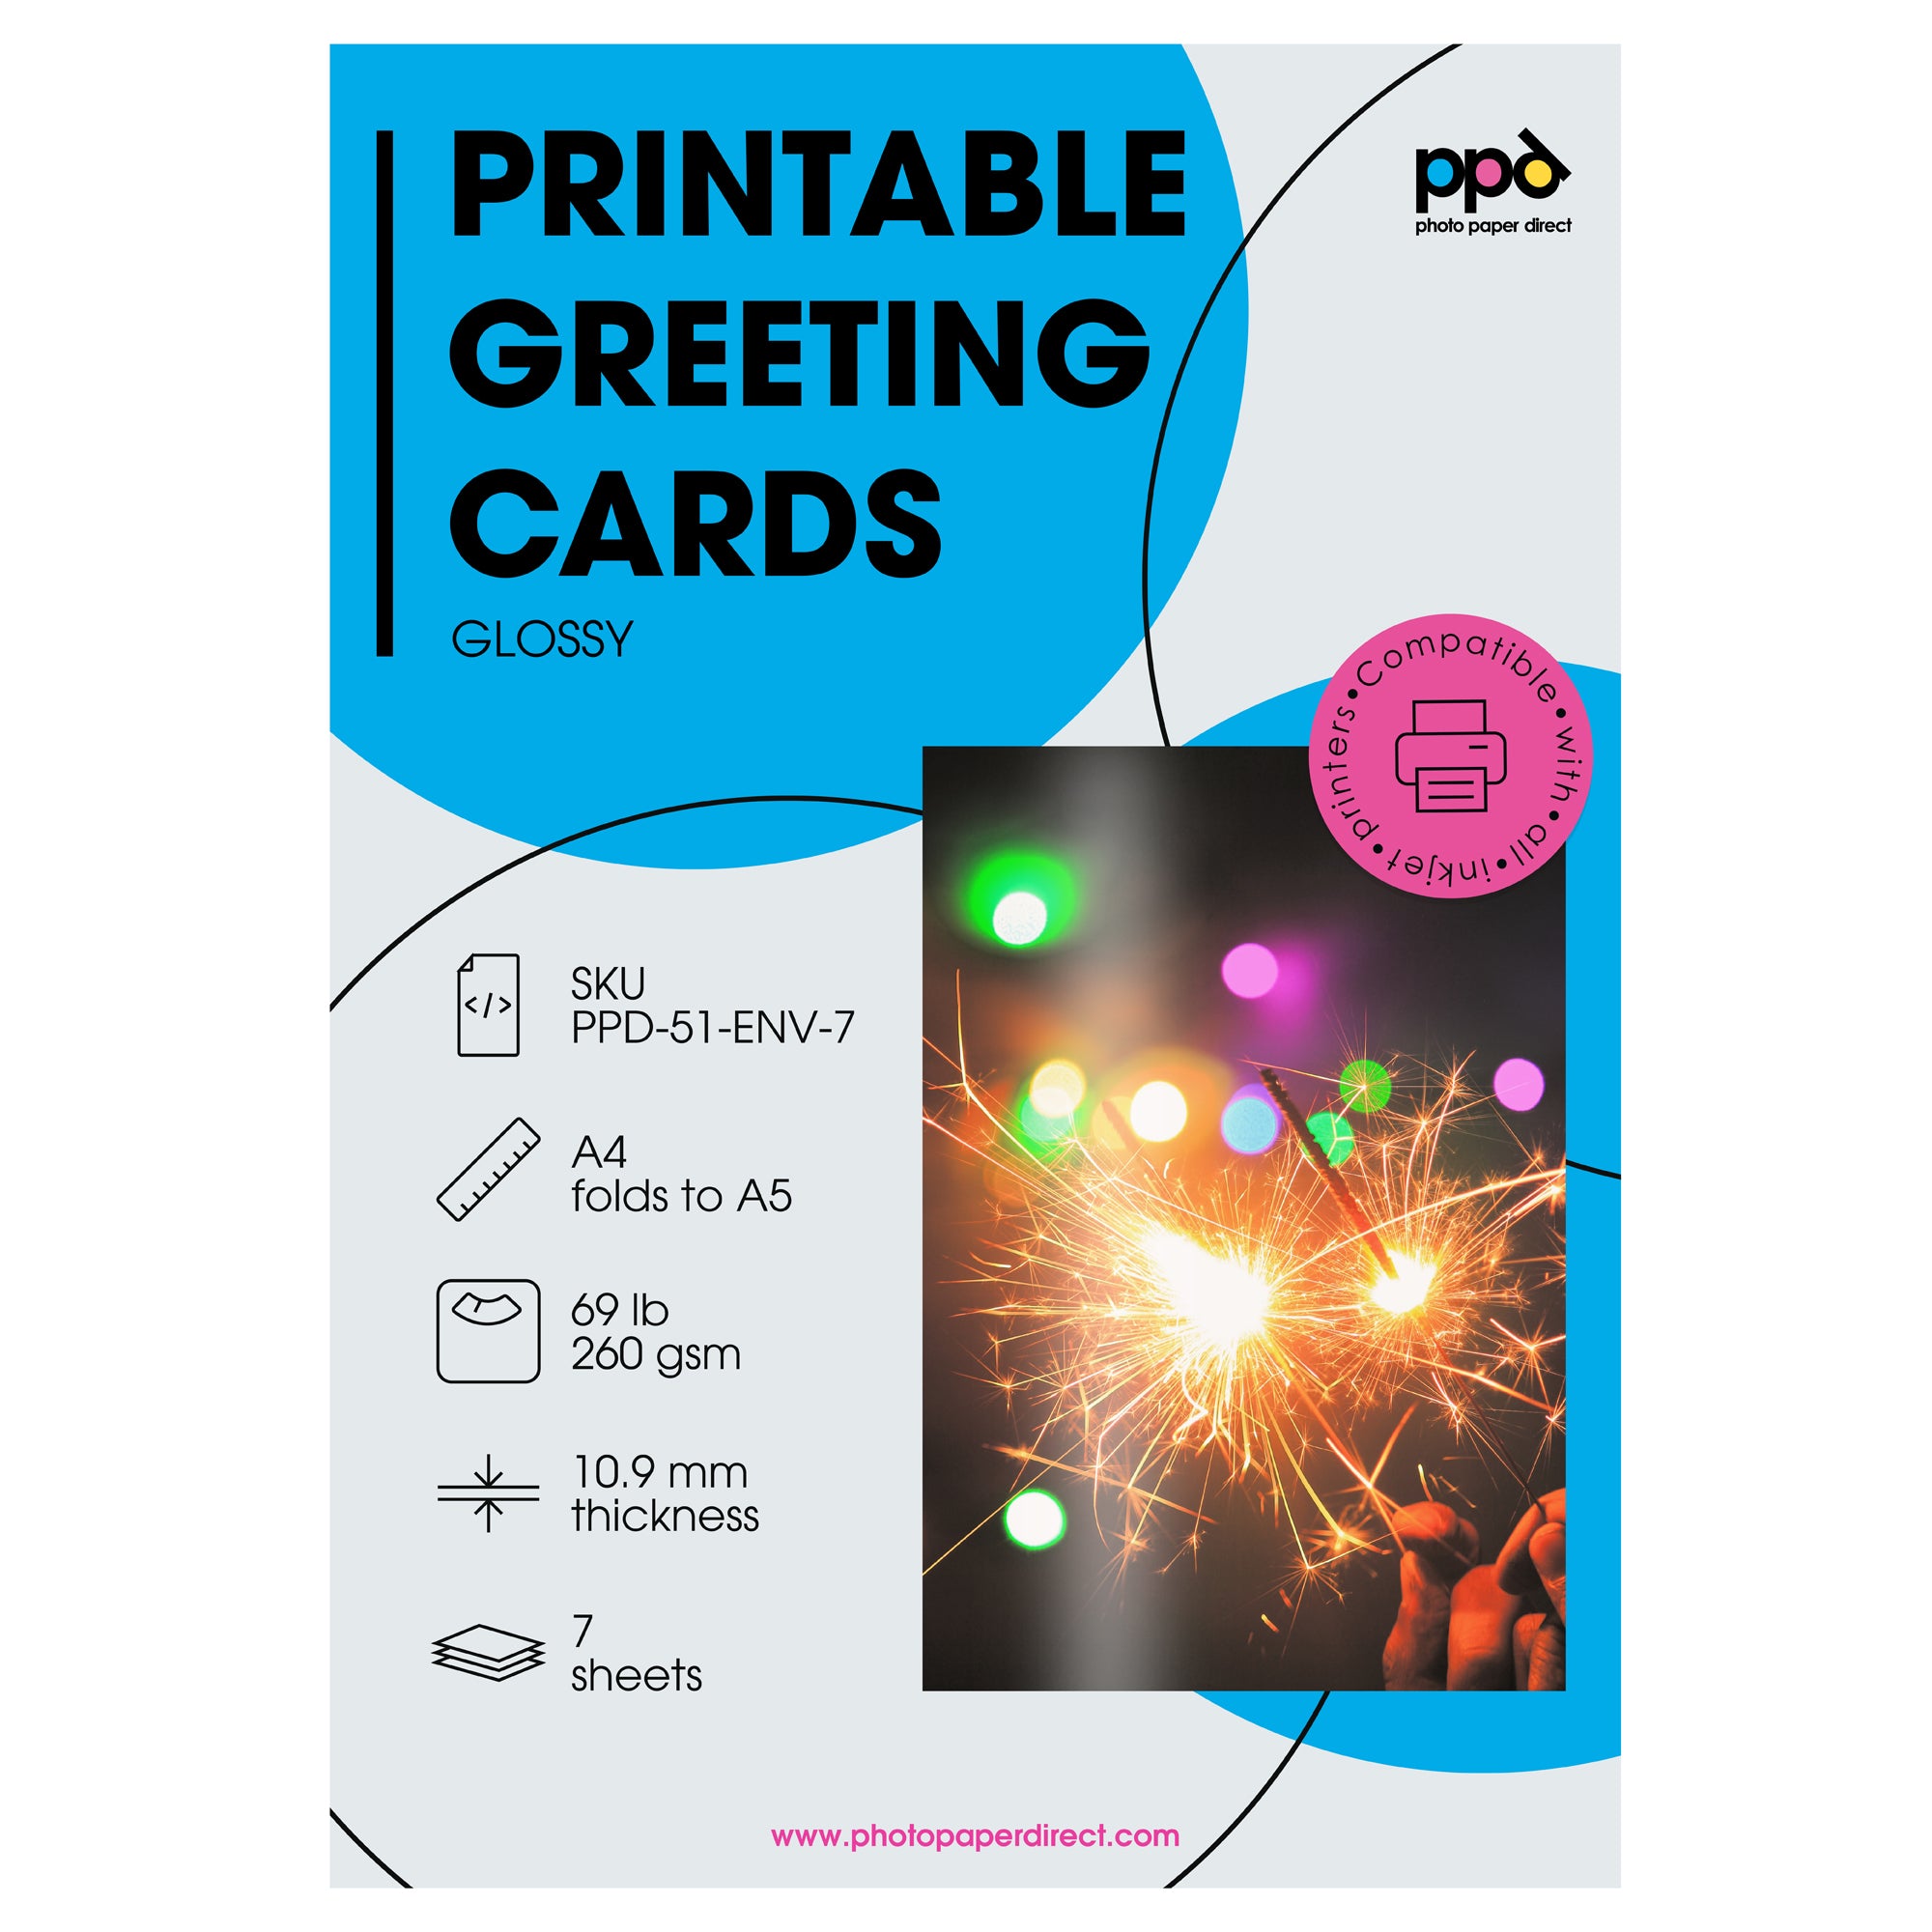
Handmade greeting cards no longer require a large stash of crafting supplies and artistic know-how to create them. With printable greeting cards, you can create custom greetings for the holidays – or for any reason – with the message and images you want using your computer and inkjet printer.
You get to design your own greeting card messaging to suit your needs. You can print each card when you need one or print the same design on the entire package.
DIY Easy Holiday Greeting Cards
- Create Greeting Cards Quickly
- Make Your Own Inkjet Printable Greeting Card
- Best Practices with Printable Greeting Cards
- Make Cards for Any Occasion
Create Greeting Cards Quickly
It doesn’t take long to setup a template in a word processor or a photo editing program, which allows anyone to print inkjet greeting cards at home or the office. If you have Photoshop, Canva, or any other photo editing software you’ll already know how to layout the page. If not, you can quickly make a greeting card template in a word processing program.
Make Your Own Greeting Card Template
1. Setup
Using your favorite word editing program, create a new document. Set the margins and orientation (portrait or landscape) to fit your greeting card paper size. If unsure of margin sizes, try using 0.5.
PPD Card Sizes
A4 (folds to A5) – Glossy no envelopes or Glossy with envelopes
A5 (folds to A6) – Matt with envelopes
A4 (folds to A5) – Glossy no envelopes or Glossy with envelopes
A5 (folds to A6) – Matt with envelopes
2. Layout
Insert 2 columns and adjust your indent settings.
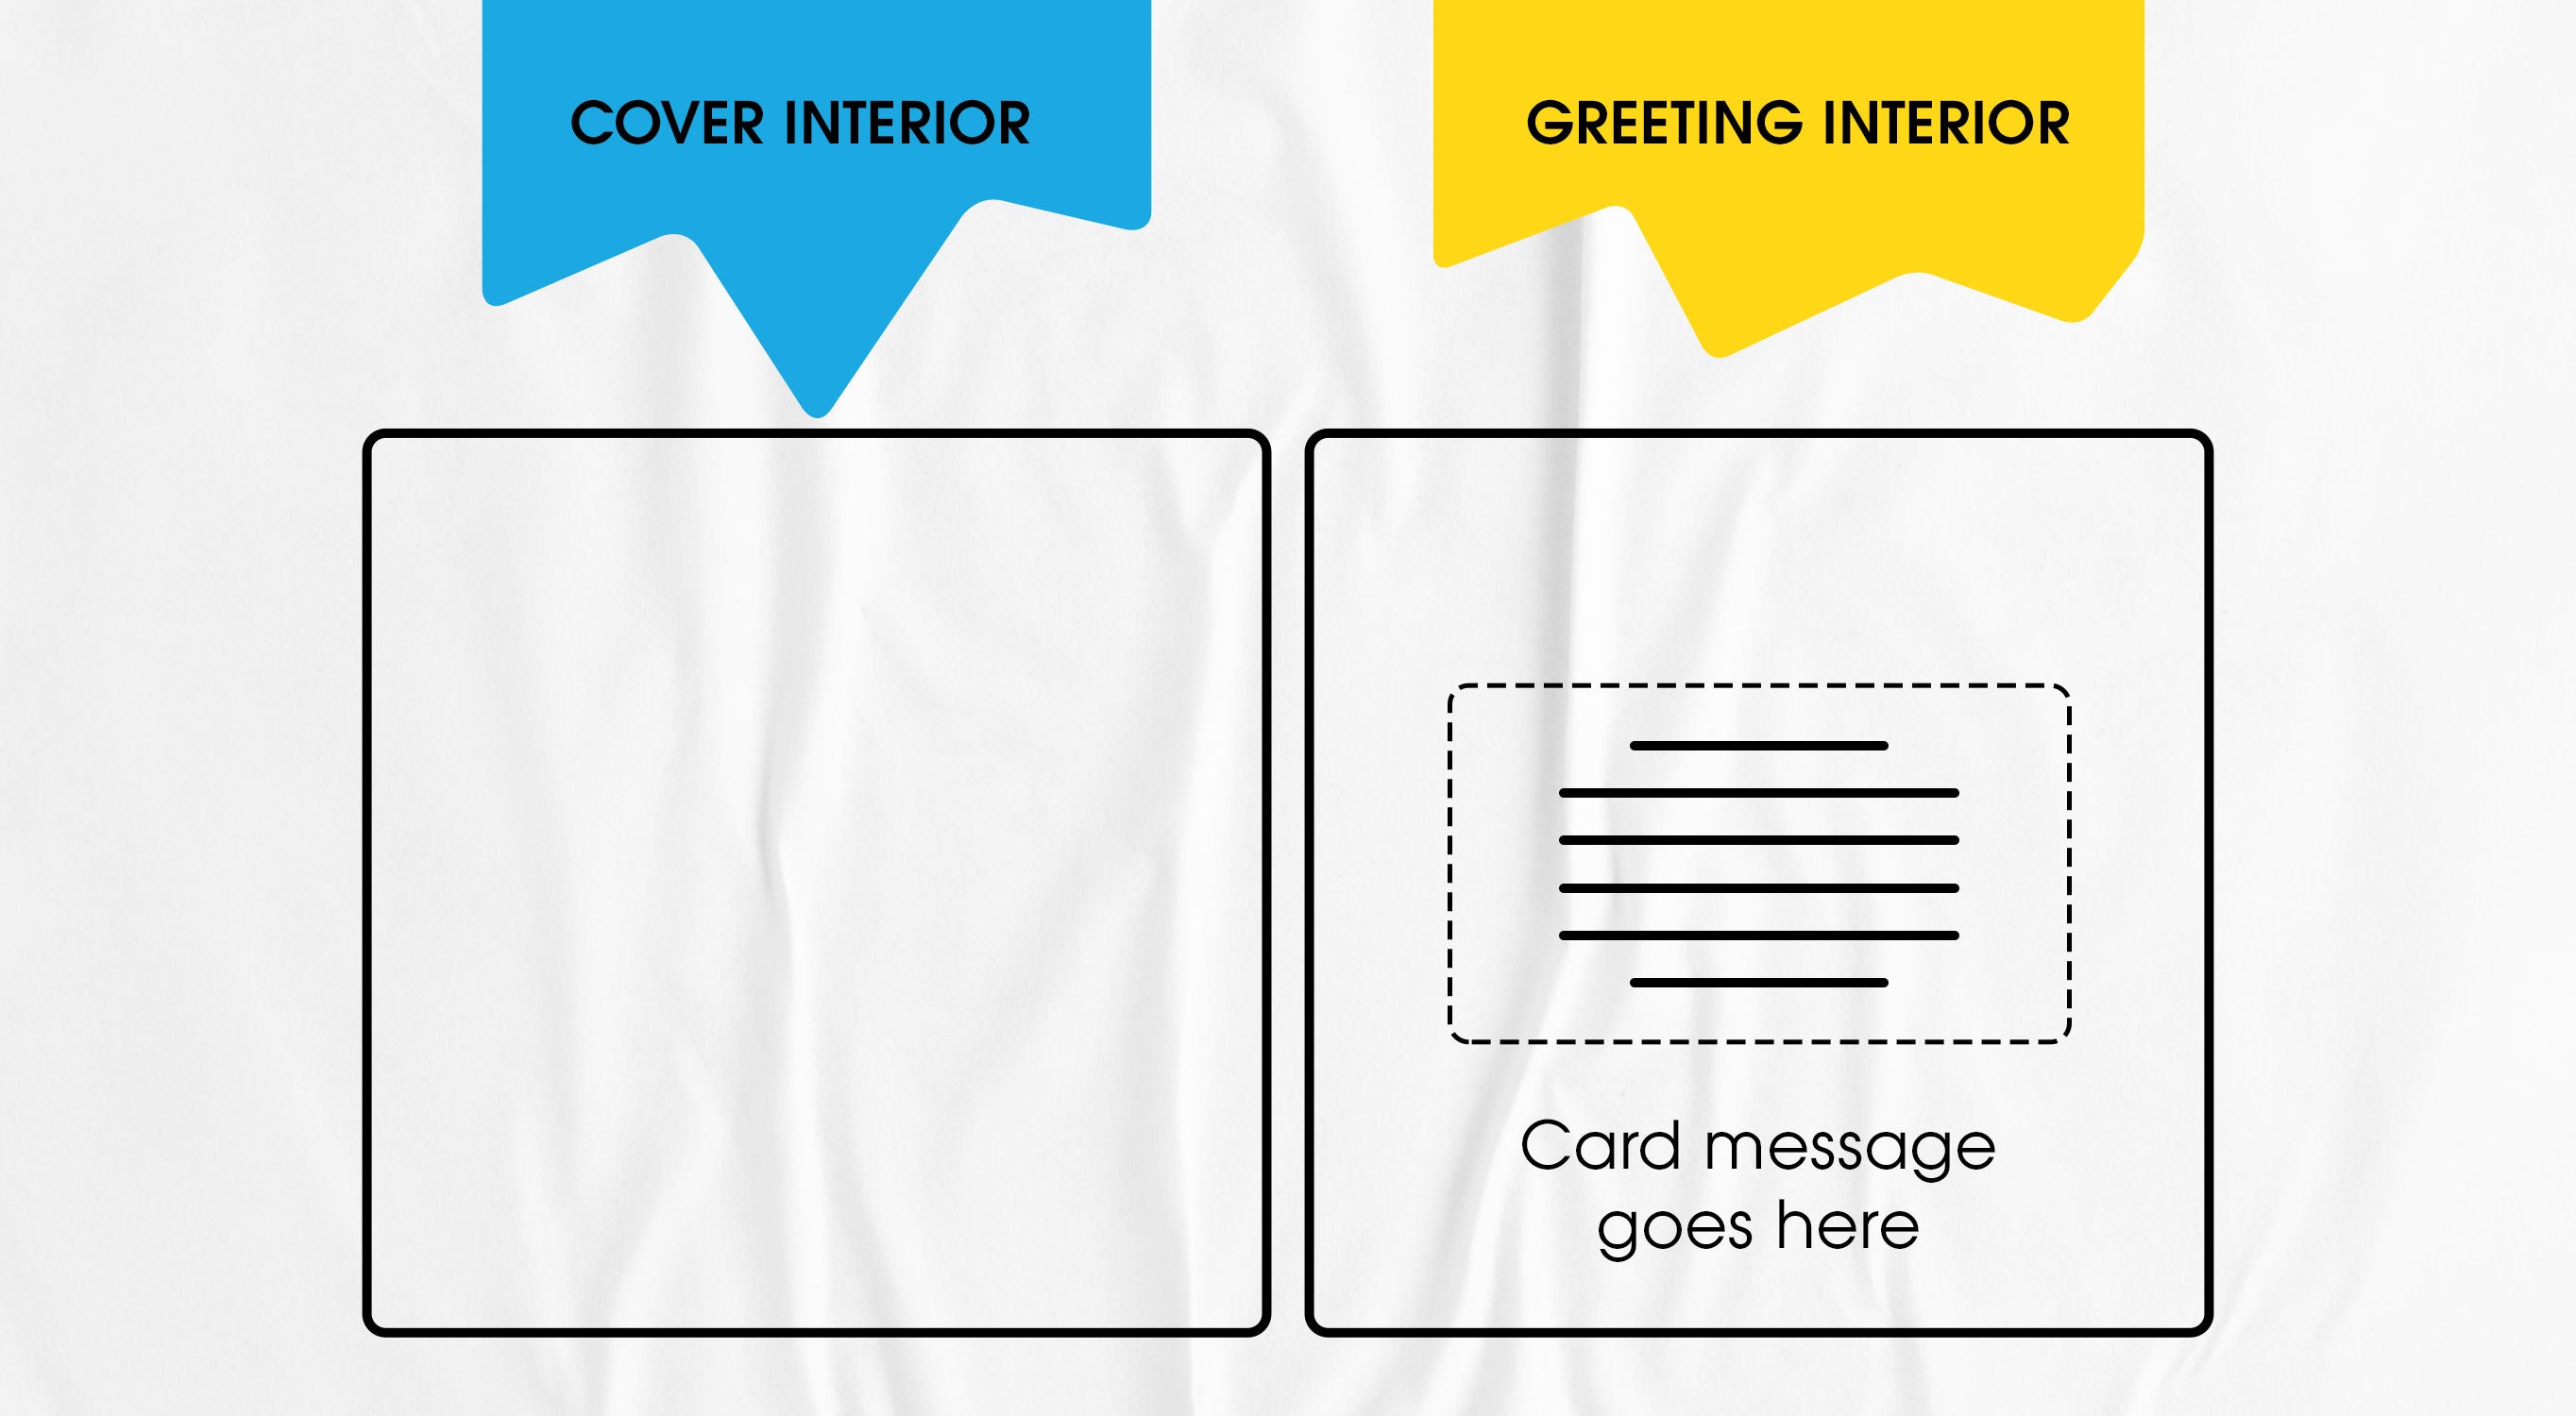
To make a traditional greeting card, layout page #1 with a blank card interior (left) and greeting (right), then page #2 with the back cover (left) and card front (right).
Page #1
Page #2

3. Add a Greeting
Compose a message for the interior. Center align the text you want inside the card for a clean look.
That’s the indented side of the score line is the card interior, where you will print your greeting.
4. Back of card (optional)
Insert a small company logo or graphic with your name and the date. Consider printing directions here when sending an event invitation.
5. Add Photos/Art
Add a photo or custom digital artwork to the cover.
If there is a message, add a text field and place it on your image.
6. Print the Card
Ready to print? Insert the card stock to print the card interior first if your printer does not have double-sided printing. Print page 1, then flip it over and reinsert to print page 2.
We recommend printing the interior pages first, so the printer rollers do not run across any printed photos and scratch them.
If you are nervous about your layout skills, do a test print on regular paper, then lay it over your cardstock to confirm image and message placement. If you’re still not sure, find templates inside your word program and adjust the settings to fit your greeting cardstock size.
7. Fold
After printing, fold the greeting card using the pre-scored lines. Flatten it along the card edge with a paper scorer or your fingers.
TIP: To produce a cleaner card edge when flattening the card, start at the center of the card then move to one edge. Repeat on the other side of the card (also starting at the center).
Make Your Own Inkjet Printable Greeting Card
Cards do not have to be basic. Create anything! Make your card funny, sweet, or whatever you want. If you are making greeting cards for a company, then this is your chance to show off your company style and messaging.

What can you print for a unique Christmas or Hannukah card this holiday season? Why not…
- Add a postcard-worthy vacation photo or make it comic and take a photo of you in front of a travel poster
- Feature your kid’s artwork
- Just words (like a word cloud, a beautiful font, clips from photos of signs to make your own font with local flair)
- An activity card where the recipient does something interactive:
- Print 3D tree parts to cut up and create a Christmas tree for their desk
- Usable gift tags printed on the front page to cut out and use
- Make a dress up Santa doll with clothes for a day off and the big night
- Send inspiration and good cheer when you include an inspiring quote from your favorite poet or song writer (if you’re selling these cards, please write your own message)
- Share a photo of a family recipe on the cover or print the recipe text inside your card
- …and finally, send a personalized thank you note with a photo of you next to or with their gift for a unique touch they’ll cherish
Best Practices with Printable Greeting Cards
Always refer to the included instructions prior to printing your greeting cards.
Here are a few things to note:
- Print only on inkjet printers; the specialized coating is designed for inkjet not laser printers
- We recommend loading single sheets for best results
- If you don’t have a single-sided printer, print the card interior messaging first so any photos on the card cover do not run through the printer more than once
- Use the pre-scored lines to fold your cards
- Only print text and simple graphics on the matt/smooth side, no photos
- Print vivid colours or sharp text/graphics on the gloss side
Make cards for any occasion
Any day is a good day to mail a personalized card. With the speed presented by printable inkjet cards you can create one-of-a-kind cards or print an entire set for a special event without a lot of effort. It’s easy to make your own custom greeting cards for any occasion, including these:
- Birthday cards
- Thank you note cards
- Announcements (wedding invitations, birthday party invitations, graduation, etc.)
- Congratulation cards
- Holiday greeting cards
- Get well cards
- Just because cards
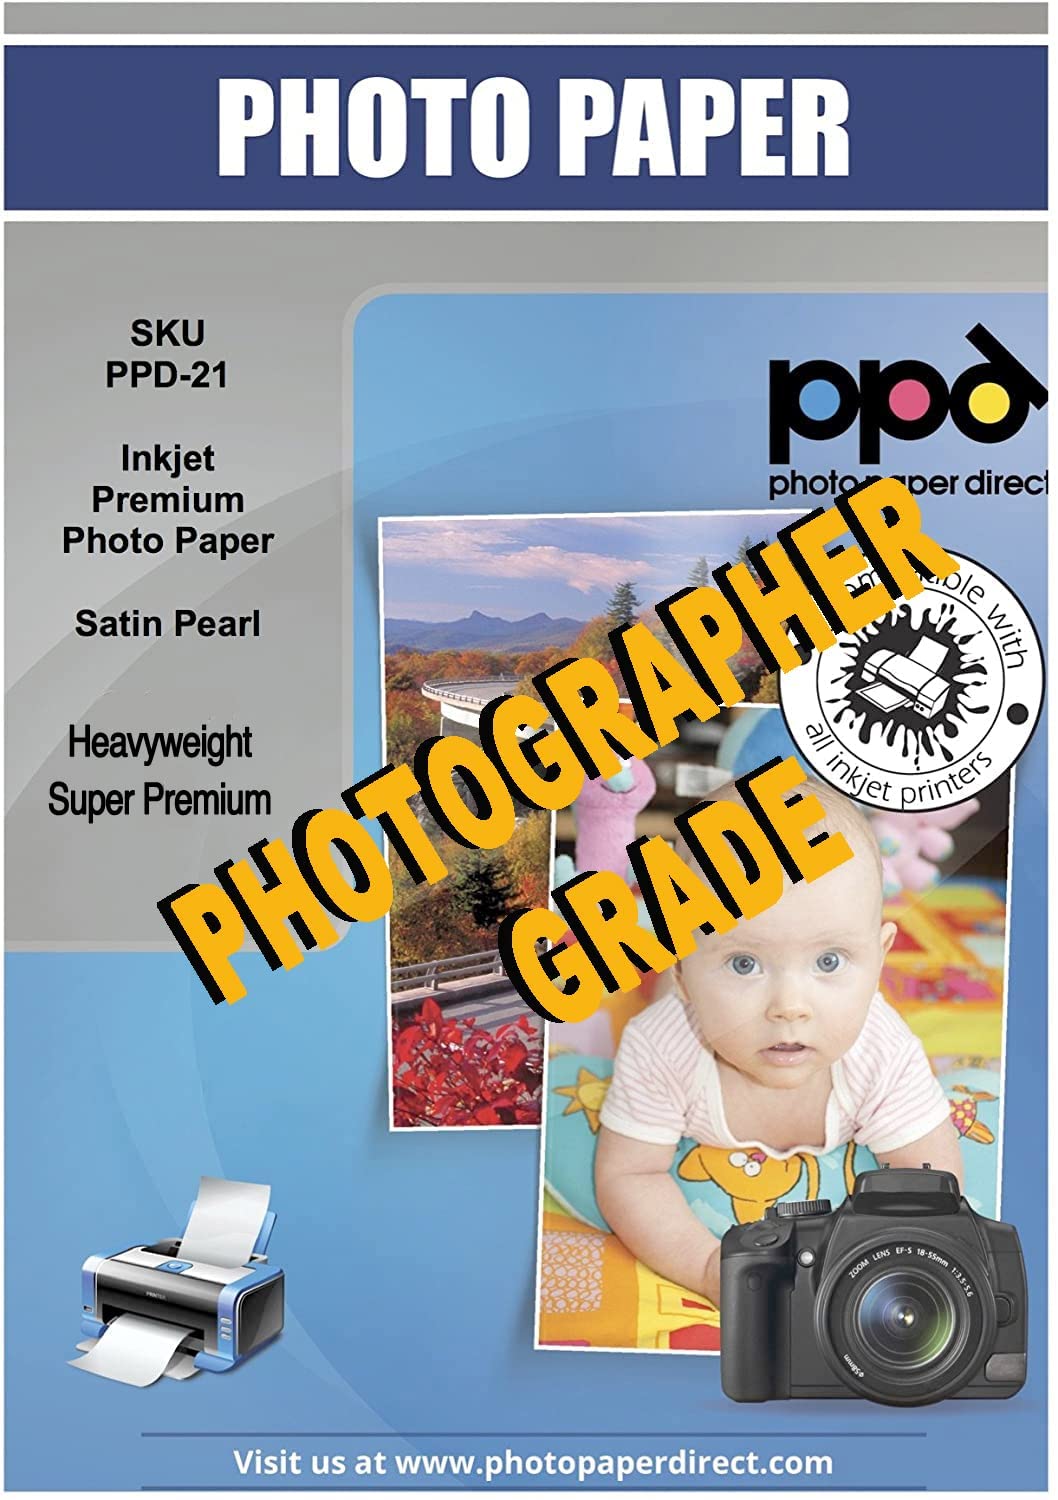
We offer multiple sizes and finishes (matt or gloss). Explore the PPD greeting cards collection to find the cards that suit your needs. Many come with envelopes, which are also printable to add the recipient’s address information for mailing or their name in a beautiful font.
What wonderful greeting will you send to your family, friends, coworkers or clients? The options are limitless.


