Blogs

Contact

About
Frequently Asked Questions
General Questions
Can you use this paper with a laser printer?
Can you use this paper with a laser printer?
The coating on this product is only compatible with inkjet printers. It will not work with laser printers.
General Transfer Paper
What is the difference between transfer papers for light or dark fabrics?
What is the difference between transfer papers for light or dark fabrics?
We offer 2 types of transfer paper because of the way color is applied with an inkjet printer. Since there is no white printed with an inkjet printer, the transfer paper for dark fabrics includes a white background. For the transfer paper for light fabrics, the background is clear after application. Any fabric color will show through, meaning that if you have a yellow shirt, then any blank spaces in your design will show the yellow fabric underneath.
If you need white in your design or want a white border, use the dark transfer paper.
ADD TO WEB ONLY:
You can see our test of what happens when you print on light fabric transfer paper then apply it to a dark T-shirt in this YouTube video.
How do I wash T-shirts with iron-on transfer paper images on them?
How do I wash T-shirts with iron-on transfer paper images on them?
Wait 24 hours before washing the garment. Wash T-shirts inside out in a washing machine using the regular, full spin cycle. Do not wash them in delicate or hang dry them.
Can I use a smart iron with your transfer paper?
Can I use a smart iron with your transfer paper?
We do not recommend using a smart iron when adhering a transfer paper design to fabric. Smart irons can automatically fluctuate the heat. You need an even temperature.
In addition, use a dry iron on the highest setting (1400W or higher for light transfer paper, 1600W for dark transfer paper) without steam. Be sure to preheat the iron for about 5 minutes.
I’m starting a T-shirt business. Can I use PPD Transfer Paper?
I’m starting a T-shirt business. Can I use PPD Transfer Paper?
Absolutely! We sell transfer paper to many T-shirts business clients. For best results, use a cotton T-shirt.
Why does it say ‘Do Not Use Ironing Board’ on your instruction sheet?
Why does it say ‘Do Not Use Ironing Board’ on your instruction sheet?
Please do not use an ironing board for heat transfer as that surface has a lot of give to it. You need to use a solid surface. We recommend using a hard surface that is heat-resistant instead of an ironing board.
Can I heat transfer images onto burlap fabric or synthetics?
Can I heat transfer images onto burlap fabric or synthetics?
PPD Transfer Paper is designed for smooth cotton and other fabrics that can withstand the highest heat setting. Do not use silk or any fabric that requires a low heat setting. Also, it will not work with burlap or other loose weave fabrics. When in doubt, use cotton.
Can I use a heatpress instead of an iron?
Can I use a heatpress instead of an iron?
Absolutely! Follow the heatpress instructions on our included instruction sheet. If you are using a handheld heatpress, please follow the ironing instructions instead. Handheld heatpresses are ones that you move around over the fabric, like an iron. Standard heatpresses lower a large, flat heated metal onto the fabric with a lever and require different time settings.
How do I center the design on a T-shirt?
How do I center the design on a T-shirt?
Use the Shirt Alignment Tool included with every packet of transfer paper to center the design on your T-shirt instead of having to eyeball it each time. The paper tool can be resized to fit multiple shirt sizes (baby, toddler, youth, adult) by trimming it.
TIP: Make a copy or take a photograph of the instructions on the back of the Shirt Alignment Tool to reference them later.
Can I print with sublimation ink on this transfer paper?
Can I print with sublimation ink on this transfer paper?
This transfer paper only works with an inkjet printer. It will not accept sublimation ink.
Instead of an inkjet printer, can I use markers, crayons, or colored pencils on this paper for my artwork to go on fabric?
Instead of an inkjet printer, can I use markers, crayons, or colored pencils on this paper for my artwork to go on fabric?
Yes, you can write and draw on this paper with any SOFT felt tip marker. If you use crayons or colored pencils, which are hard, you are likely to damage the coating. Be sure to color lightly.
Will this transfer paper attach to all fabrics?
Will this transfer paper attach to all fabrics?
This product works best with cotton. Other tight-woven fabrics can withstand high heat, too. Keep in mind that the fabric you use should be smooth and able to withstand high temperatures. It will not work on a rough or loose fabric like burlap, fleece, or a wide-weave canvas.
I bought the combo pack (light and dark transfer paper) but forgot how to tell the difference. Can you help?
I bought the combo pack (light and dark transfer paper) but forgot how to tell the difference. Can you help?
The color of the backing will help you identify the transfer paper type. The blue pattern backing is for dark fabrics. The red pattern backing is for light fabrics. Remember to refer to the instruction sheet for full details, since heat application differs for each one.
Light Transfer Paper
Should I mirror image the design for PPD Dark Transfer Paper?
Should I mirror image the design for PPD Dark Transfer Paper?
Yes, mirror image your design. You can either do that in your design program or choose "mirror mode” in your printer settings.
Can I use a smart cutter to cut out a design on PPD Light Transfer Paper?
Can I use a smart cutter to cut out a design on PPD Light Transfer Paper?
Light transfer paper is not compatible with smart cutters.
How close should I cut to the image when trimming around a design on light transfer paper?
How close should I cut to the image when trimming around a design on light transfer paper?
Since this transfer paper is transparent, you can cut roughly around the design. We recommend you leave a border for best results.
Should the image be face up or face down when transferring a light transfer paper design?
Should the image be face up or face down when transferring a light transfer paper design?
The image should be face down with the red backing visible. Iron on top of the backing.
Refer to the instructions on the provided instruction sheet for full details.
When should I peel off the backing when transferring a light transfer paper design?
When should I peel off the backing when transferring a light transfer paper design?
Leave the red/white backing on when heat transferring the image onto the fabric with your iron or heatpress. Once you have transferred the image to the fabric, you can peel off the backing. You’ll then use the silicone sheet and your iron/heatpress.
Refer to the provided instruction sheet for full details.
Dark Transfer Paper
Should I mirror image the design for PPD Dark Transfer Paper?
Should I mirror image the design for PPD Dark Transfer Paper?
There is no need to mirror your design with our dark transfer paper.
How close should I cut to the image when trimming around a design on dark transfer paper?
How close should I cut to the image when trimming around a design on dark transfer paper?
Any white paper that you see will print on the fabric. You need to cut to the edge of the printed design, unless you want a white border. This transfer paper is compatible with smart cutting machines, including Cricut.
Remember to trim before you peel off the backing otherwise it will be too floppy to cut cleanly.
Should the image be face up or face down when transferring a dark transfer paper design?
Should the image be face up or face down when transferring a dark transfer paper design?
Dark Transfer Paper should be placed face up on the garment. Before that, take the backing off. Be sure to add a silicone sheet between the design and the iron or heatpress.
Refer to the instructions on the provided instruction sheet for full details.
When should I peel off the backing when transferring a dark transfer paper design?
When should I peel off the backing when transferring a dark transfer paper design?
Peel off the backing, then place the image face up on your dark fabric. Be sure to add a silicone sheet between the design and the iron or heatpress.
Refer to the instructions on the provided instruction sheet for full details.
Silicone Sheets
I am confused about the Silicone Sheets paper. Can you help?
I am confused about the Silicone Sheets paper. Can you help?
Silicone sheets allow you to protect your iron or heatpress from the transfer paper. They also help fix the image onto your fabric to increase longevity of the image.
Our reusable Silicone Sheets work with PPD Transfer Paper and can also be used for crafts when you need a non-stick surface. This is not transfer paper, which is sold separately. You cannot print on it. Every packet of PPD Transfer Paper includes a single sheet of Silicone Paper that can be reused.
You will use PPD Silicone Sheets during the heat transfer process at different times, depending on whether you have the dark or light fabric transfer paper. Refer to our included instructions for full details.
How do I know when I should use a new silicone sheet?
How do I know when I should use a new silicone sheet?
You can reuse PPD Silicone Sheets over and over. The sheet is double-sided and non-stick. If the sheet has not been contaminated by ink, and it is not torn, then continue to use it.
Remember that Silicone Sheets do not leave anything on the image. It is a non-stick barrier between the iron and the transferred design. It helps to fix the image and keep the iron or heatpress from absorbing the design.
You can see how to use Silicone Sheets in our YouTube Video.
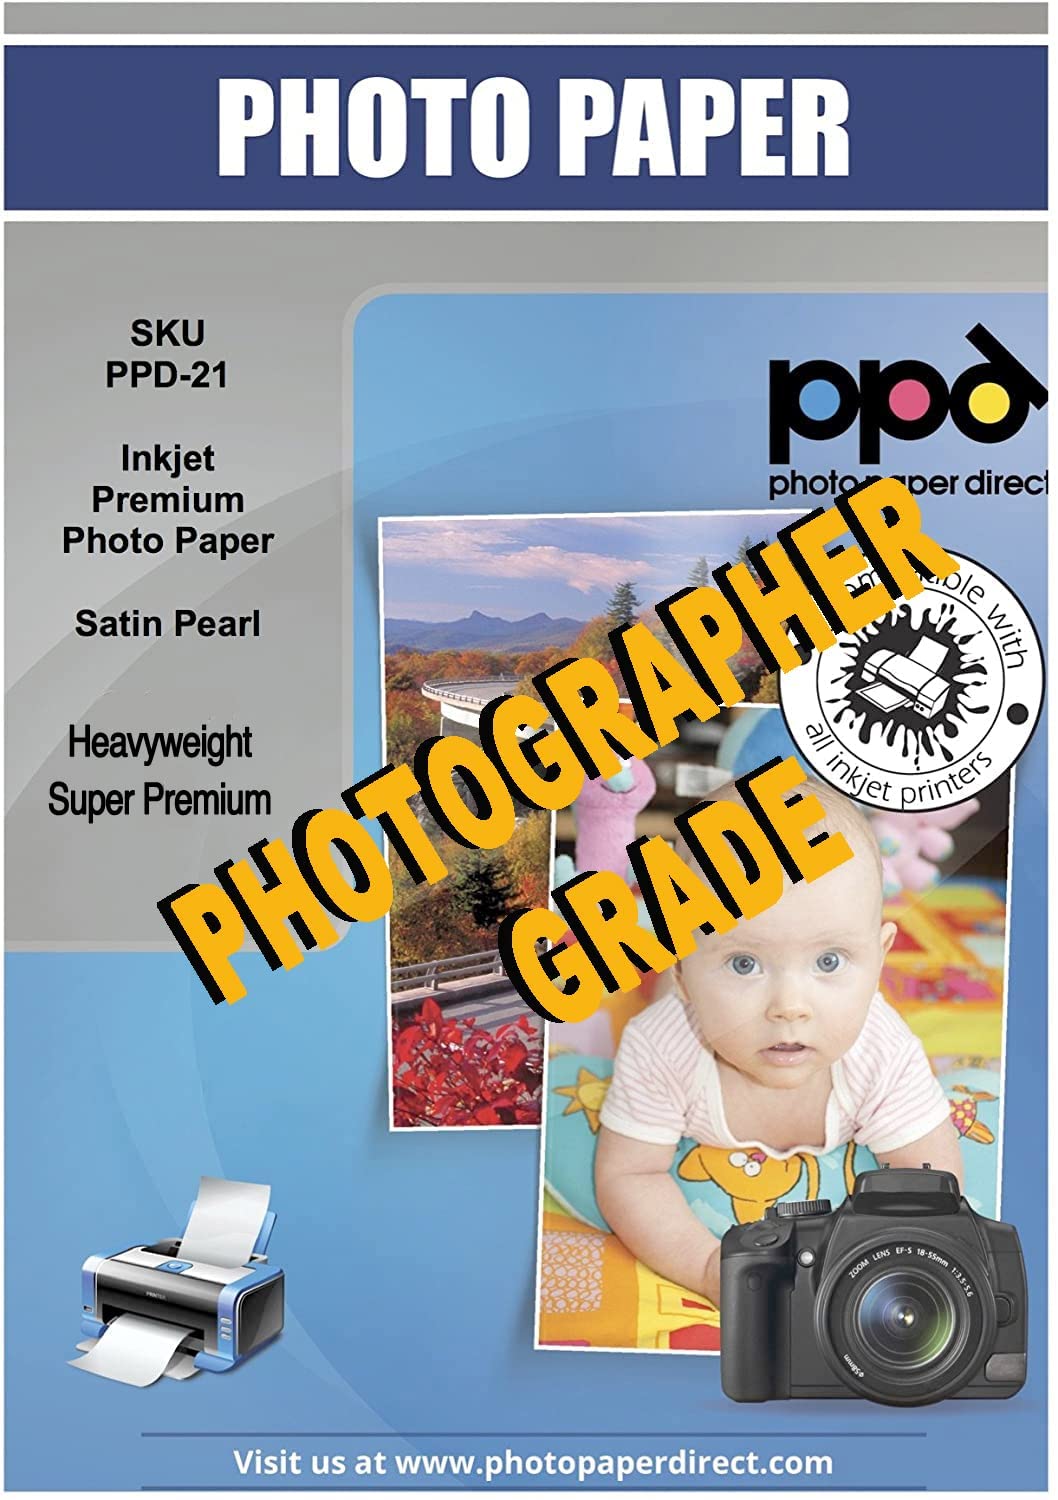
General Photo Paper
Is this photo paper acid free? Is this photo paper archival?
Is this photo paper acid free? Is this photo paper archival?
This is not acid free paper. This is not archival grade paper.
What should I use to cut PPD Photo Papers into a smaller size?
What should I use to cut PPD Photo Papers into a smaller size?
Crop photo paper with scissors, a hobby blade, or a smart cutting machine, including Cricut. It may work with some paper trimmers, but we have not tested specific brands.
Does this inkjet paper have a watermark?
Does this inkjet paper have a watermark?
No, we do not include watermarks on either side of our photo papers.
Will printing on an inkjet printer make the photos smudge?
Will printing on an inkjet printer make the photos smudge?
PPD Photo Papers dry instantly with no smears, right off the printer.
Can I use this photo paper in a laser printer?
Can I use this photo paper in a laser printer?
Only use this paper with an inkjet printer.
Can this photo paper be used in a copy machine?
Can this photo paper be used in a copy machine?
This paper is only for use with an inkjet printer. If your copy machine is an inkjet, and it can take this paper weight, then it should work.
What printer settings should I use for brightness, contrast, etc.?
What printer settings should I use for brightness, contrast, etc.?
Each PPD photo paper weight or type uses different settings for different brands of inkjet printers. Please refer to the printing instructions included with this packet of photo paper for our recommendations.
Can you print multiple photos on the same sheet?
Can you print multiple photos on the same sheet?
Absolutely! Print as many photos as you want on a larger sheet, then crop it using scissors, a hobby blade, or a smart cutting machine, including Cricut.
Which inkjet printer brands are compatible with this photo paper?
Which inkjet printer brands are compatible with this photo paper?
This photo paper works with ALL inkjet printers. It will not work with laser printers.
Single Sided Photo Paper
Can I write on the back of this photo paper? Can I print on it?
Can I write on the back of this photo paper? Can I print on it?
Yes, you can write on the back of this photo paper. We recommend a pen with permanent ink.
The reverse side is uncoated paper with a matte finish. It can accept simple graphics and messages.
Why did the color smear?
Why did the color smear?
One side of this photo paper is specially coated for inkjet printers. The other side is not designed for printing. If the ink smudged after printing, or if the ink appears to be low quality, check whether you printed on the correct side.
Satin Photo Paper
Will this photo paper glare? I am taking photos of prints for a project.
Will this photo paper glare? I am taking photos of prints for a project.
Satin photo paper has a low sheen and is sometimes called semi-gloss. It is halfway between our glossy and matte photo paper. The shine off this photo paper will depend on the lighting level and the angle of the light which will illuminate the photo.
If you are concerned about any glare, even when photographing photos using a light box, please consider matte photo paper.
Can I print vintage photos?
Can I print vintage photos?
Absolutely! The satin finish is well-suited to reprint vintage photographs.
Does the satin finish have a texture?
Does the satin finish have a texture?
No, this is a low sheen finish. There is no texture.
Satin Single Sided Photo Paper
Is the satin finish on both sides? Can I print on it?
Is the satin finish on both sides? Can I print on it?
The back of this photo paper is matte and cannot be printed on. Please print only on the satin finish side..
Pearl Photo Paper
Is this the same as a semi-gloss?
Is this the same as a semi-gloss?
This is a low-sheen paper that is slightly less reflective than PPD Satin photo paper. It can be referred to as a semi-gloss photo paper.
Is the Pearl finish on both sides? Can I print on it?
Is the Pearl finish on both sides? Can I print on it?
The back of this photo paper is matte and cannot be printed on. Please print only on the Pearl finish side.
Can I print vintage photos?
Can I print vintage photos?
Absolutely! The pearl finish is well-suited to reprint vintage photographs.
Does the pearl finish have a texture?
Does the pearl finish have a texture?
No, this is a low sheen finish. There is no texture.
Heavyweight Photo Paper
I’d like to use this as a wedding invitation paper, is that possible? Is the paper as thick as cardstock?
I’d like to use this as a wedding invitation paper, is that possible? Is the paper as thick as cardstock?
The 280 gsm photo paper is more like photo lab paper, but you can make invitations out of it.
PPD also sells 240 gsm greeting cards with or without envelopes. They are pre-scored for your convenience.
Is this good paper for a brochure/program book?
Is this good paper for a brochure/program book?
Our heavyweight paper is not intended for brochures and programs. Use something lighter at around 120-140 gsm for best results.
The matte greeting cards we sell create nice programs.
Can this glossy finish paper be used for alcohol ink painting?
Can this glossy finish paper be used for alcohol ink painting?
No, the back of this paper is absorbent. You need our 280 gsm photo paper which has a polymer coating on the back. It is the only one suitable for ink painting.
The PPD product codes are PPD-15, 16, 17, 20, 21, 22, 23, 70, 86, 68,82. All these are microporous PE coated. All the 200g, 255, 280g in all countries are PE coated and can be used in alcohol printing.
With Alcohol printing, it does not matter whether the paper is Gloss or Satin because the artist is using the back of the paper, where we normally do not print. For more understanding about alcohol printing, see this video
I want to fold/score this paper to make cards. Can I fold this paper?
I want to fold/score this paper to make cards. Can I fold this paper?
Yes, this paper will fold and score. When printing a photo, it is possible you will end up with a white edge. NOTE: The coating will not crack. It is the same coating as is used on our pre-scored greeting cards.
Brochure Paper
Is PPD Brochure Paper only meant for marketing brochures or tri-fold mailers?
Is PPD Brochure Paper only meant for marketing brochures or tri-fold mailers?
No, there are a lot of ways you can use this think, high-resolution paper. You can make takeout menus, business brochures, travel flyers, programs, multi-page pamphlets, mailers, catering menus, and realty brochures (get the gloss!). You can also use it for technical specifications and product manuals or to highlight an upcoming event.
Fun ways to use this thin, double-sided paper: make goodie bags, wrap chocolate bars with custom paper designs, comic books, or print game covers, DBD covers, or design your own book covers. It also makes an excellent custom calendar.
Can I use PPD Brochure Paper for game or DVD covers?
Can I use PPD Brochure Paper for game or DVD covers?
Yes, this paper is suitable for DVD cover prints. Not only is it thin, but it features a high-resolution coating for an excellent print result for colorful images.
Can I print on both sides of this brochure paper?
Can I print on both sides of this brochure paper?
Absolutely! PPD brochure paper can be printed on both sides.
Is your brochure paper pre-scored?
Is your brochure paper pre-scored?
No, we do not pre-score our brochure paper. You can fold it after you print it.
Some of the folding styles our customers have used include: bi-fold, tri-fold, letter fold, Z-fold or accordion fold, gate fold, double-gate fold, right angle, map fold, and double parallel fold. See our graphics for visual examples of many of these flyer or brochure fold types.
What does matte coating mean?
What does matte coating mean?
Unlike a glossy finish, which is shiny, a matte finish is a flat finish without any sheen. It produces a sharp, colorful image on a smooth paper.
Can I use a heat sealer with this paper to make a goodie bag or chip bag?
Can I use a heat sealer with this paper to make a goodie bag or chip bag?
A heat sealer will not work with PPD Brochure Paper. The paper does not include any material that would melt and form a seal. Try using craft glue or a glue stick instead.
General Self-Adhesives
What should I do to remove bubbles from applied stickers?
What should I do to remove bubbles from applied stickers?
Peel it back slowly, then smooth down the sticker as you reapply it.
TIP (when applying): If you peel off only a small corner of the sticker first, then apply that to start, you can slowly peel off the backing and smooth your way across the whole sticker surface to prevent bubbles.
On which surfaces can I attach your self-adhesive stickers?
On which surfaces can I attach your self-adhesive stickers?
You can attach PPD stickers to most non-porous surfaces. That includes smooth surfaces like wood, metal, glass, paper, plastic, railings, pipes, binder covers, and photo albums. They are fun to add to printed photos, too!
Do you have any printing tips for stickers?
Do you have any printing tips for stickers?
For best results, remove regular paper sheets from your printer before adding sticker sheets. Please refer to the instruction sheet included in your packet for brand-specific printer settings.
Leave a small bit of room between your sticker designs when printing on the sheet to allow you to maneuver scissors or leave a white border.
Can I add a spray fixative to any PPD stickers to help with longevity?
Can I add a spray fixative to any PPD stickers to help with longevity?
If you are adding a spray fixative or lacquer finish on top of an inkjet printed paper, then the lacquer must be solvent-based. It cannot be water-based. When it is not solvent-based, the lacquer will mix with the ink and distort the image. PPD offers a solvent-based lacquer spray.
Vinyl Self-Adhesives
How should I cut vinyl stickers?
How should I cut vinyl stickers?
Cut around the stickers using scissors, hobby blades, or smart cutting machines, including Cricut. With intricate designs – or large quantities – we recommend you use a smart cutter.
When using a smart cutter, set the machine to "Normal Paper" and use a 30° knife blade.
Can I peel off your vinyl stickers?
Can I peel off your vinyl stickers?
PPD vinyl self-adhesives can be peeled off without leaving a residue.
Sticker Paper Self-Adhesives
How should I cut PPD sticker papers?
How should I cut PPD sticker papers?
Cut around the stickers using scissors, hobby blades, or smart cutting machines, including Cricut. With intricate designs – or large quantities – we recommend you use a smart cutter.
When using a smart cutter, set the machine to "Normal Paper" and use a 30° knife blade.
Can I use these stickers outside?
Can I use these stickers outside?
These stickers are perfect for crafting, party favors, and to apply to indoor plastic or metal surfaces. They are not designed for exterior use.
Can I peel off your stickers?
Can I peel off your stickers?
These self-adhesive stickers can be peeled off without leaving a residue.
Clear/Frosty Self-Adhesives
How should I cut these stickers?
How should I cut these stickers?
Cut around the stickers using scissors, hobby blades, or smart cutting machines, including Cricut. With intricate designs – or large quantities – we recommend you use a smart cutter.
When using a smart cutter, set the machine to "Normal Paper" and use a 30° knife blade.
Can I peel off your stickers?
Can I peel off your stickers?
Our clear and frosty stickers are designed to be permanent.
What’s the difference between your frosty and clear stickers?
What’s the difference between your frosty and clear stickers?
The frosty sticker is slightly see-through with a milky finish. The clear sticker is see-through like a window.
I want to add white in my sticker design, can I do that?
I want to add white in my sticker design, can I do that?
Inkjet printers do not print white ink. With the clear or frosty sticker sheets, any white areas in your design will appear as clear or frosted when you print them, depending on the sticker you purchased.
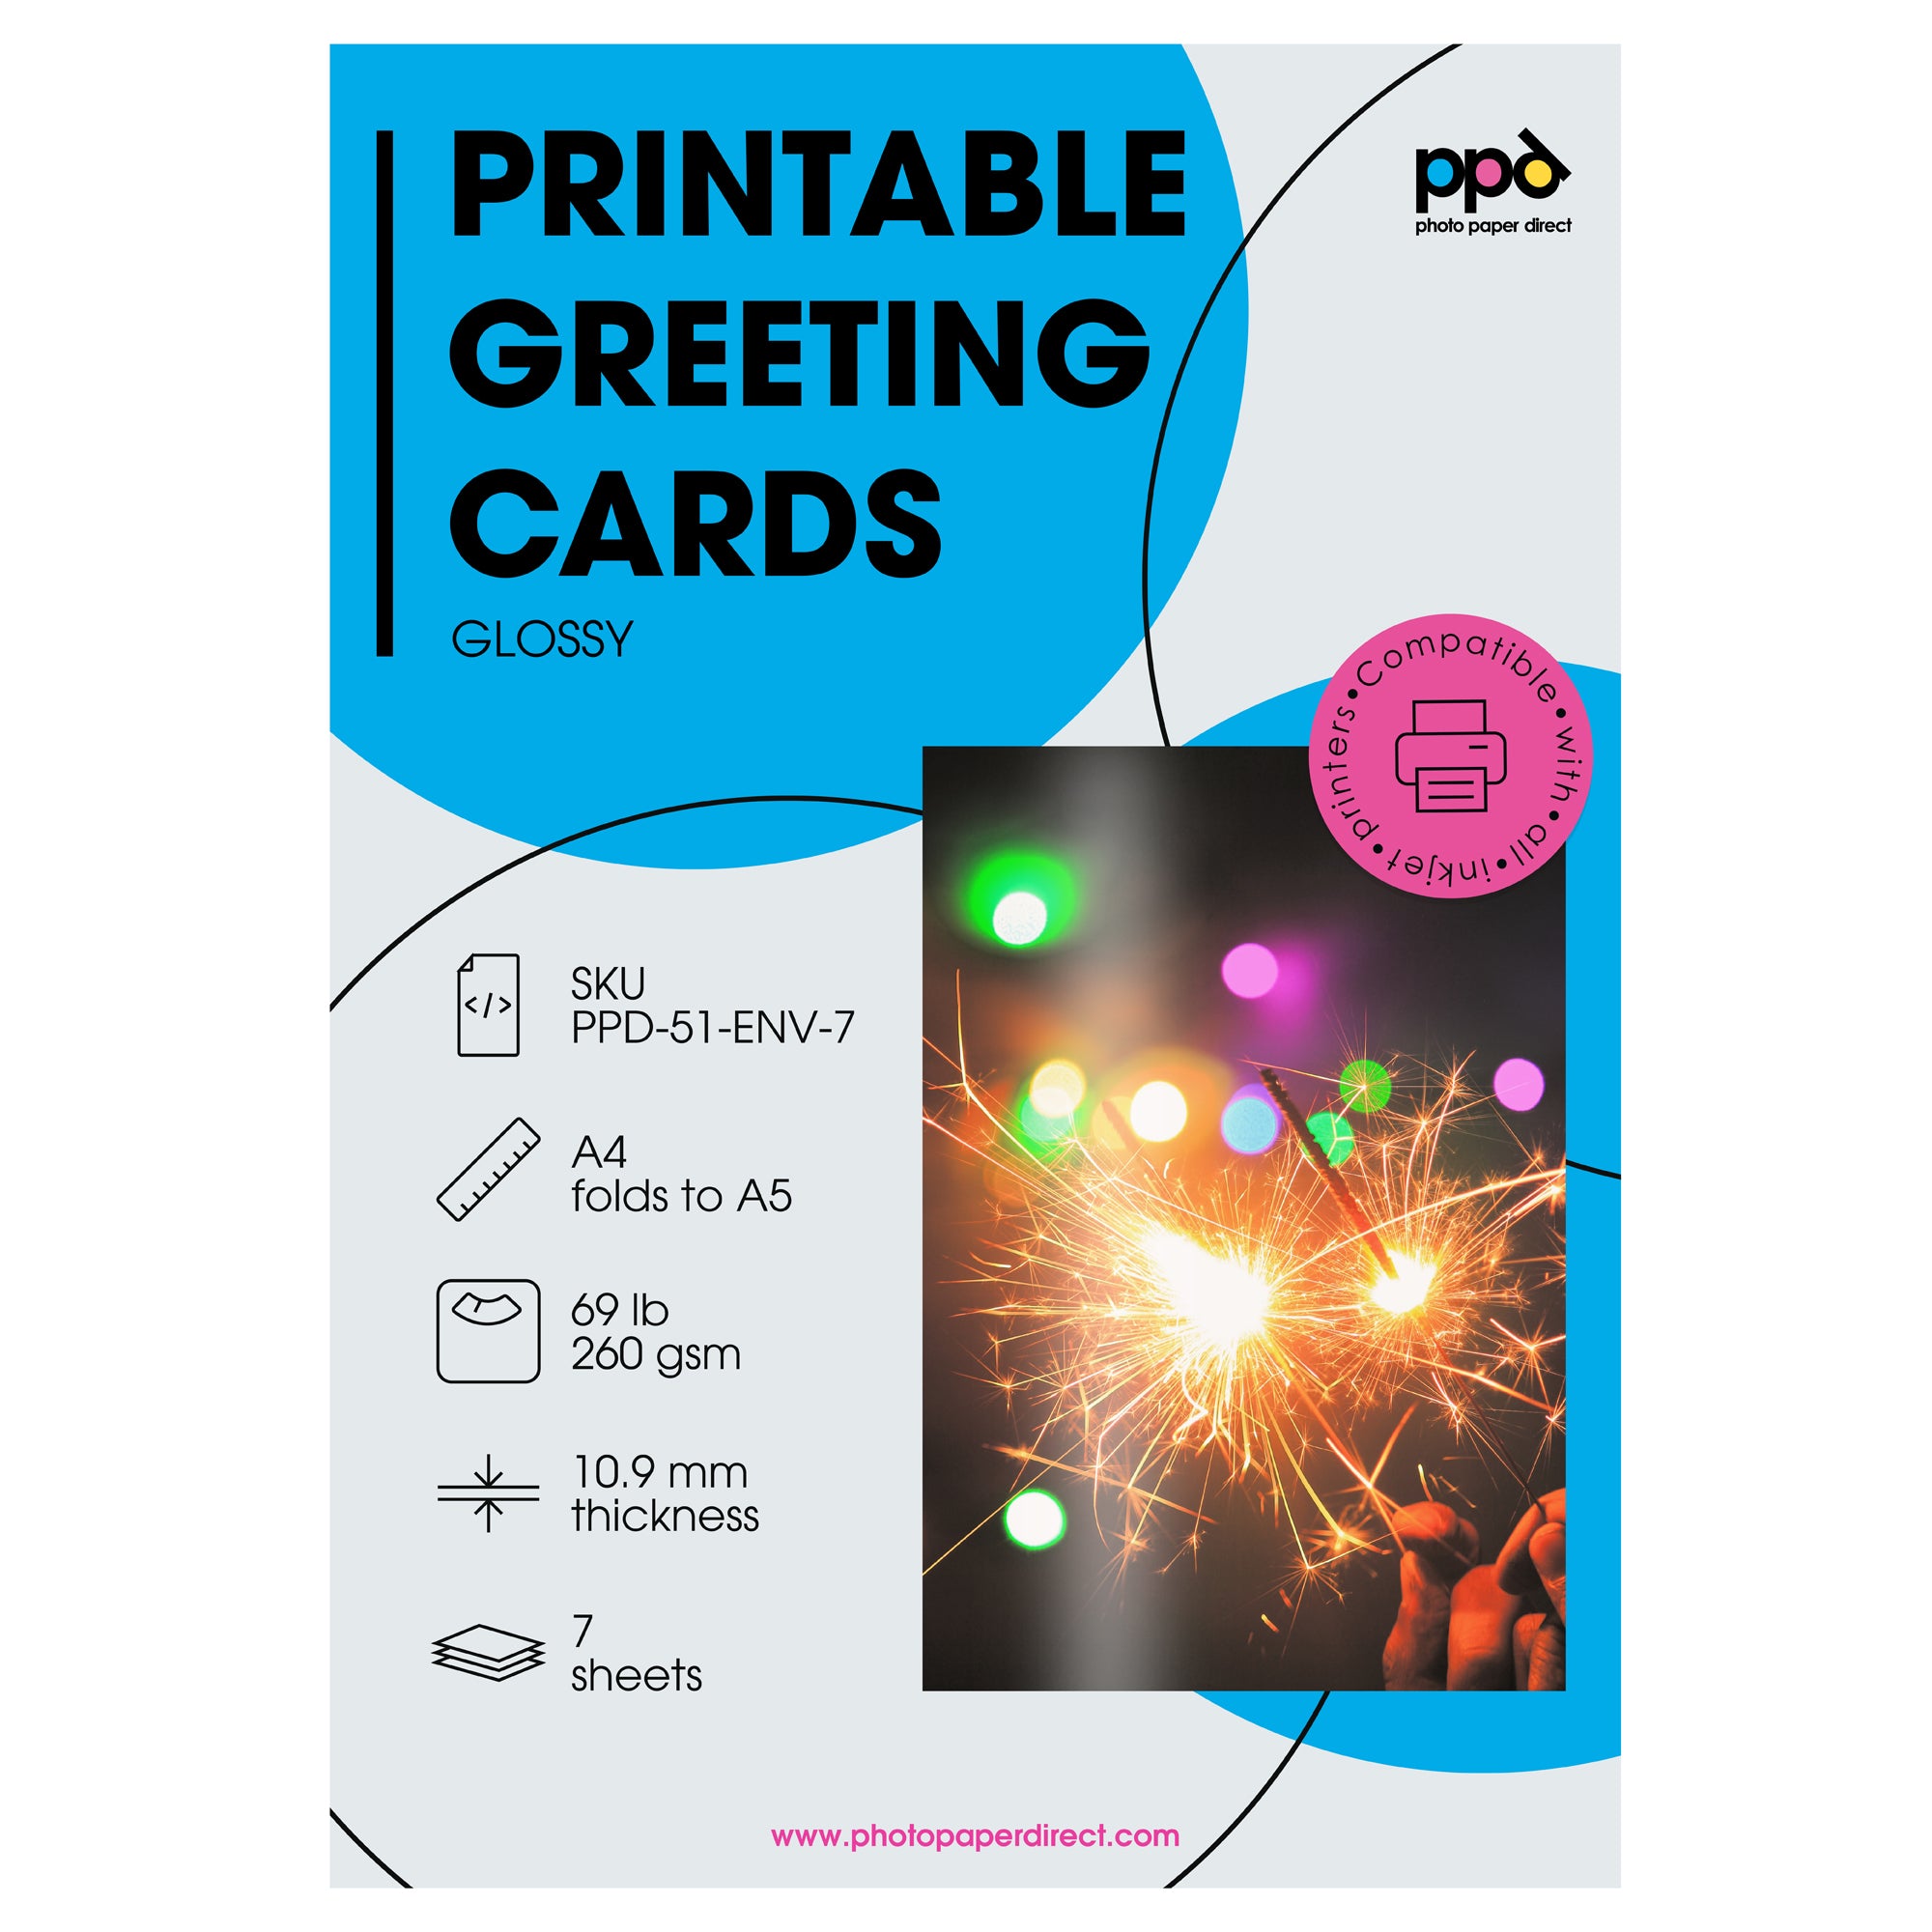
Greeting Cards
Are your greeting cards pre-scored?
Are your greeting cards pre-scored?
Absolutely! All our greeting cards are pre-scored to make folding easier. Print on an inkjet printer first, then fold it.
Is there a message inside or is the greeting card blank inside?
Is there a message inside or is the greeting card blank inside?
Our greeting cards are blank inside so you can print your own message in them.
Can I print on all sides of the greeting cards?
Can I print on all sides of the greeting cards?
You can print on both sides with an inkjet printer.
Print photos on the outside of the card.
Print simple graphics and messages inside the card. We do not recommend printing a photo inside as it is uncoated paper and will behave just like any standard printer paper.
Can I print on your greeting card envelopes?
Can I print on your greeting card envelopes?
Absolutely! Use an inkjet printer to print the recipient’s name or contact information on the envelope.
What size are the envelopes?
What size are the envelopes?
The greeting cards must be folded in half to fit inside the envelopes.
Can I print high-resolution photography on your greeting cards?
Can I print high-resolution photography on your greeting cards?
Absolutely! Hi-res photography prints well on our inkjet greeting cards. It looks great on our glossy cards.
Remember that while you can print on both sides with an inkjet printer, we don’t recommend printing a photo inside. Print simple graphics and messages inside instead.
Can I use a greeting card as a special event program? Like for a wedding or service or performance?
Can I use a greeting card as a special event program? Like for a wedding or service or performance?
Absolutely! Use these greeting cards in a variety of ways. The inside works great for printing text and simple graphics.
Some people insert extra pages inside as an insert and secure them with a ribbon or glue. PPD Brochure Paper works well for this purpose.
I want to print a poem in 12 pt font. Will the words print nicely on this paper?
I want to print a poem in 12 pt font. Will the words print nicely on this paper?
Yes! The paper works well with sharp imagery or text printed on it.
What do you mean by half letter size?
What do you mean by half letter size?
When an 8.5 × 11" piece of paper is folded it is called half letter size. Our greeting cards are pre-scored to fold the paper exactly in half.
Gloss Greeting Cards
Is this a very glossy or a high gloss finish?
Is this a very glossy or a high gloss finish?
PPD greeting cards have a high gloss finish. Print any photos on the glossy side of the card, not on the interior.
Are the glossy greeting cards glossy on both sides?
Are the glossy greeting cards glossy on both sides?
PPD greeting cards with a glossy finish are shiny on one side with a matte/smooth surface on the other. You can print photos on the shiny/glossy side.
Matte Greeting Cards
Both sides of the matt greeting card look the same to me. Which one is the front?
Both sides of the matt greeting card look the same to me. Which one is the front?
PPD matt greeting cards are coated on both sides of the paper. You can print on both sides.
Magnetic Paper Sheets
Are your magnet sheets made of paper?
Are your magnet sheets made of paper?
PPD magnet sheet papers include a coating (the white side) and a magnet on the back. There is no need to use an adhesive as the magnet is already attached to the paper. Just print your design, cut it out, and adhere it to a metal surface.
Will your magnets stick to my car?
Will your magnets stick to my car?
We do not recommend using PPD magnet sheet papers as a bumper sticker.
Are your magnets actually instant dry?
Are your magnets actually instant dry?
Absolutely! You can handle the magnet directly off the printer without smudges.
Can I cut your magnet sheets with something besides scissors?
Can I cut your magnet sheets with something besides scissors?
Yes! Our magnet sheet papers are compatible with smart cutting machines, including Cricut, and with hobby blades. We recommend a 30° blade angle.
Can you print photos on your magnet sheet papers?
Can you print photos on your magnet sheet papers?
Absolutely! These papers print beautiful photos on a magnet.
Can I add a spray fixative to the magnet to help with longevity?
Can I add a spray fixative to the magnet to help with longevity?
If you are adding a spray fixative or lacquer finish on top of an inkjet printed paper, then the lacquer must be solvent-based. It cannot be water-based. When it is not solvent-based, the lacquer will mix with the ink and distort the image. We are unable to recommend a specific solvent-based lacquer in the United States.
Transparency Film/OHP Film/Transparencies
Are your transparency sheets for overhead projectors?
Are your transparency sheets for overhead projectors?
Absolutely! Our transparency film sheets are designed for use in an overhead projector. Simply print your image on the sheet then lay it on the glass surface of your projector.
They can also be used in many school or business applications, such as a coversheet or an overlay inside reports, to print colorful charts, and for arts and crafts as clear sheets with printed messages wrapped around greeting cards.
How do I feed transparency film into the printer so it prints on the correct side?
How do I feed transparency film into the printer so it prints on the correct side?
We included a helpful notched corner on our transparency sheets to provide you with an indicator when loading the sheet into a printer. Feed in single sheets for best results.
When you hold a transparency sheet with the notch on the top right, the printing surface is facing you.
When printing in an inkjet printer, feed the sheet into the printer with the notch on the left.
What resolution should I set my printer for transparency sheets?
What resolution should I set my printer for transparency sheets?
Use the highest resolution available. We recommend a minimum 1440 dpi. It produces brilliant, sharp images that project well.
Why is there a notch on the corner of the transparency sheet?
Why is there a notch on the corner of the transparency sheet?
We included this helpful notch to help you load the sheet into the printer. It is also there to allow you quickly lift the sheet off the glass of an overhead projector when changing out images for a presentation or in a classroom.
Why won’t the ink dry on my transparency sheet?
Why won’t the ink dry on my transparency sheet?
It is possible this was printed on the wrong side since PPD transparency sheets are instant dry.
Each transparency sheet has a printable side and a non-printable side. When you hold a transparency sheet with the notch on the top right, the printing side is facing you.
When printing in an inkjet printer, feed the sheet into the printer with the notch on the left.
Do you have any printer settings for transparency sheets?
Do you have any printer settings for transparency sheets?
Yes, recommended printer settings for different brands of inkjet printers are included on the printing instructions in your packet.
What is the coating on your transparency sheets?
What is the coating on your transparency sheets?
PPD Transparency Sheets feature a microporous coating. It is a transparent, milky clear surface.
Watercolor Fine Art Papers
Does this inkjet paper have a watermark?
Does this inkjet paper have a watermark?
No, we do not include watermarks on either side of our watercolor paper.
Is this paper acid free? Is this paper archival?
Is this paper acid free? Is this paper archival?
Yes, this is acid free and archival grade paper.
What is Giclee paper?
What is Giclee paper?
Giclee is a printing process that allows you to recreate fine art with digital prints and a specially coated paper that is designed for any inkjet paper. It offers higher image detail than standard photo paper.
These types of inkjet papers are often designed like specialty papers, such as our watercolor paper that allows you to print digital artwork with a watercolor look. It can also print photos of watercolor to allow you to print multiples without having to repaint each one.
Is your printable canvas paper actually made of cotton? - Canvas Fine Art Papers
Is your printable canvas paper actually made of cotton? - Canvas Fine Art Papers
Absolutely! Our printable canvas is not paper. It is made from 100% cotton canvas that is acid free and archival. The special coating allows the fabric to accept ink from any inkjet printer.
Does this inkjet paper have a watermark? - Canvas Fine Art Papers
Does this inkjet paper have a watermark? - Canvas Fine Art Papers
No, we do not include watermarks on either side of our printable canvas paper.
Is this FSC certified paper? - Canvas Fine Art Papers
Is this FSC certified paper? - Canvas Fine Art Papers
This is a cotton paper and is not made from wood pulp. No FSC certification is required since it is not a wood product.
Can I stretch this canvas paper over a frame? - Canvas Fine Art Papers
Can I stretch this canvas paper over a frame? - Canvas Fine Art Papers
Yes, since this is 100% cotton canvas you can stretch it over a wooden frame, adhere it to wood or display it as is.
What texture are your photo printing rag papers? - Photo Printing Rag
What texture are your photo printing rag papers? - Photo Printing Rag
The paper has a smooth surface.
Is this FSC certified paper? - Photo Printing Rag
Is this FSC certified paper? - Photo Printing Rag
This is a cotton paper and is not made from wood pulp. No FSC certification is required since it is not a wood product.